

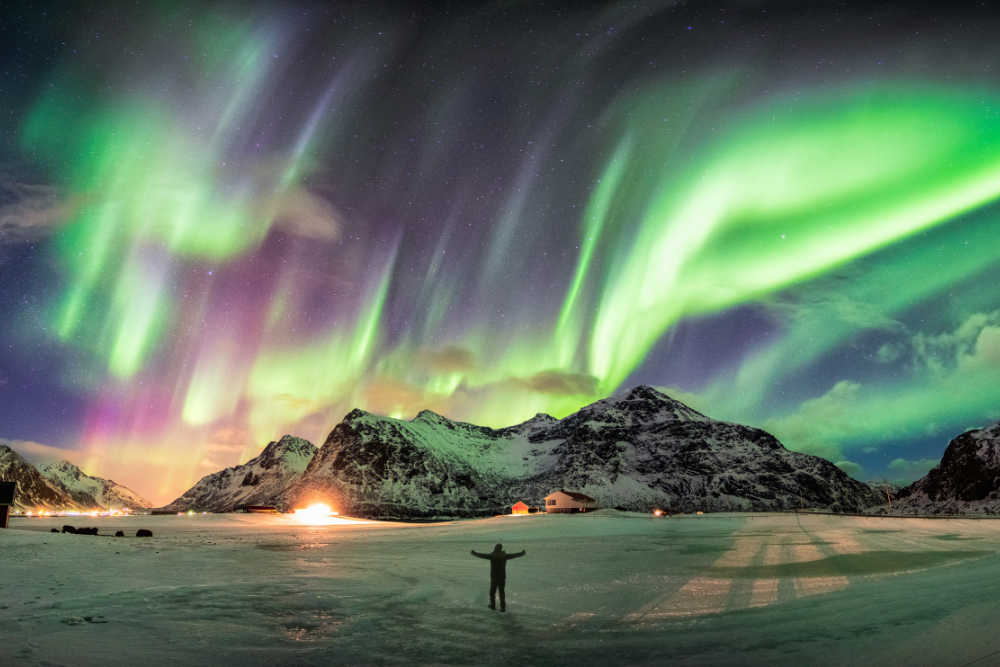

Chasing the Aurora Borealis, or Northern Lights, in Norway is one of the most thrilling photography experiences you can have. The natural light display, with its vibrant colors and mesmerizing patterns, is a photographer’s dream. However, capturing this celestial phenomenon requires patience, preparation, and the right technique. Here’s a comprehensive guide to help you get the perfect shot of the Northern Lights in Norway.
1. Choose the Right Location
Norway offers some of the best spots for viewing the Aurora Borealis, especially above the Arctic Circle. To maximize your chances of witnessing the lights and capturing them, here are a few prime locations:
- Tromsø: Known as the “Gateway to the Arctic,” Tromsø is one of the most popular spots in Norway for chasing the Northern Lights. The city is located above the Arctic Circle, giving you long nights during winter.
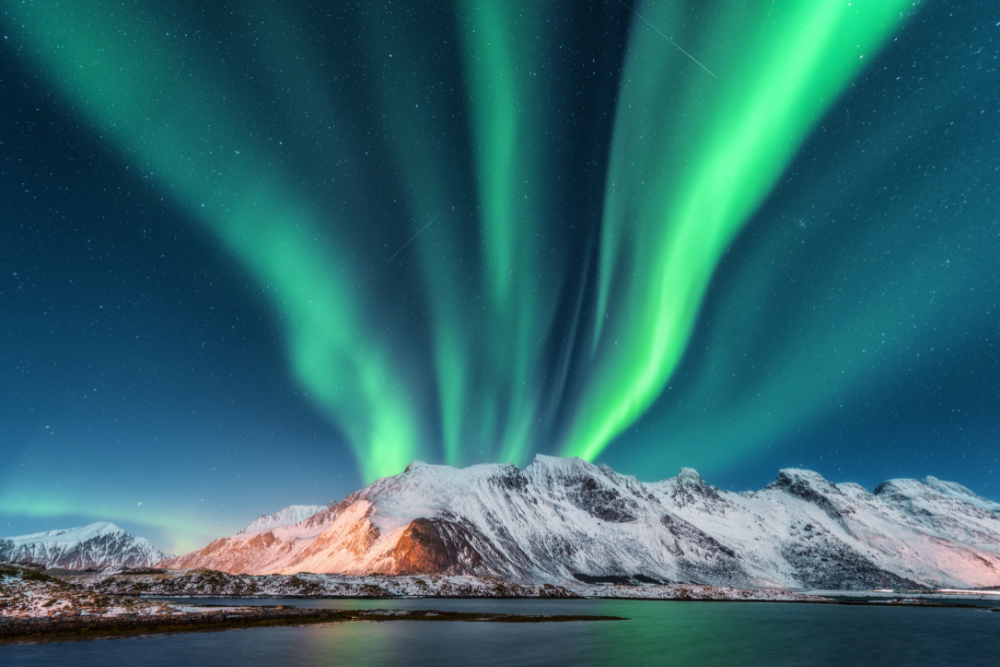
- Lofoten Islands: The stunning Lofoten Islands offer dramatic landscapes with mountains, fjords, and beaches, making them perfect backdrops for Aurora photography.
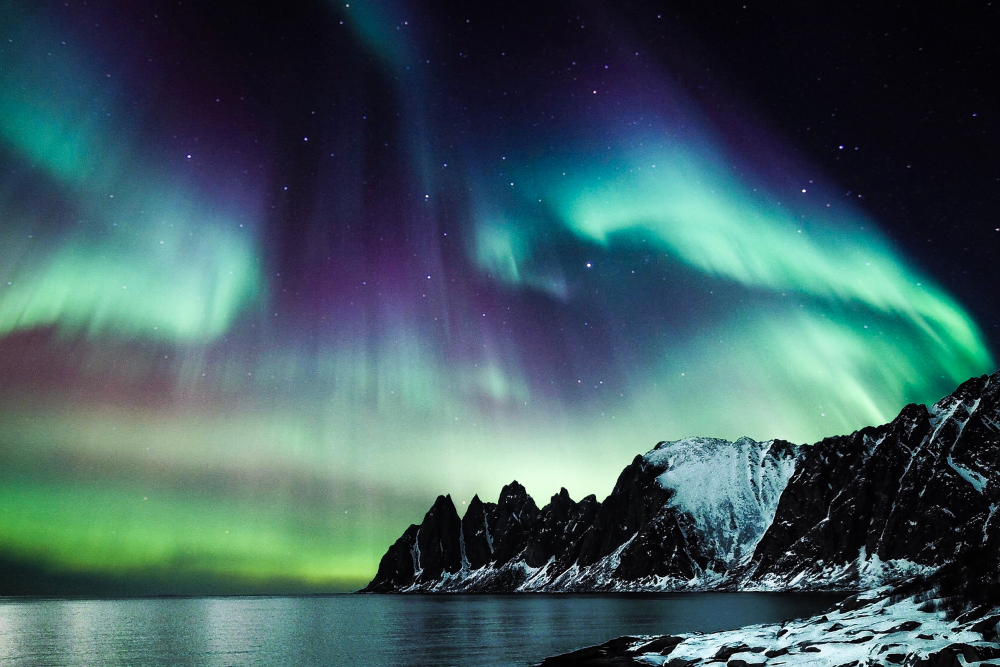
- Senja: A less crowded alternative to Tromsø, Senja offers rugged coastlines and mountainous terrain with minimal light pollution.
- North Cape (Nordkapp): Located at the northernmost point of Europe, Nordkapp is another great location for watching the Northern Lights.
Tips for Choosing the Best Spot:
- Avoid light pollution from city lights, so opt for areas far from urban centers.
- Higher altitudes, like mountain tops or remote villages, often provide clearer skies.
- A clear view of the horizon is important, as the Northern Lights can appear low in the sky.
2. Plan Your Timing
Timing is everything when it comes to photographing the Northern Lights. You need to consider both the season and time of night.
Best Time of Year:
- Late September to early April: This is the peak season for the Aurora Borealis in Norway. The best months are typically October, February, and March because of longer nights and higher solar activity.
- Darkness: The Northern Lights are best viewed during dark, clear skies. So, avoid the summer months when Norway experiences the midnight sun, and go during the winter months when it’s dark for longer.
Best Time of Night:
- The Aurora often appears between 9:00 PM and 2:00 AM, though it can appear anytime during the night.
- Solar activity tends to peak around midnight, but always keep an eye on the Aurora forecasts.
3. Use the Right Camera Gear
To capture the beauty of the Northern Lights, you’ll need the right equipment. A basic DSLR or mirrorless camera with manual settings is essential, along with a few accessories.
Essential Camera Equipment:
- Camera with manual controls: A DSLR or mirrorless camera will allow you to manually adjust settings like exposure time, aperture, and ISO.
- Wide-angle lens (f/2.8 or faster): A wide-angle lens (16-35mm or similar) with a wide aperture (f/2.8 or wider) is perfect for capturing the entire Aurora display and the surrounding landscape. The wider the aperture, the better your camera can capture more light.
- Tripod: Since you’ll be using long exposure times, a sturdy tripod is essential to avoid camera shake.
- Remote shutter release or self-timer: To avoid camera shake from pressing the shutter button, use a remote or set your camera’s self-timer for a few seconds.
- Extra batteries and memory cards: Cold weather can quickly drain your camera’s battery, so bring extra ones and plenty of memory cards.
4. Camera Settings for Northern Lights Photography
Capturing the Aurora requires precise camera settings. The key is to use long exposure techniques to allow enough light to enter the camera while keeping everything in focus.
Suggested Camera Settings:
- Aperture (f-stop): Use a wide aperture (f/2.8 or f/4) to allow as much light into the camera as possible.
- Shutter Speed: Start with a shutter speed of 10-15 seconds. This allows enough time for the Northern Lights to appear without overexposing the image. If the Aurora is moving quickly, reduce the exposure time to around 5-8 seconds.
- ISO: Start with an ISO between 800 and 1600. If the image is too dark, you can increase the ISO slightly, but be cautious of introducing too much noise. A lower ISO (e.g., 800) will help reduce grain, especially when the Aurora is faint.
- Focus: Set your camera to manual focus and focus on a distant light or the stars. Use your camera’s live view mode to zoom in on a star or distant object to ensure it’s sharply in focus.
- White Balance: Set your white balance to daylight or manual, depending on the warmth of the colors you want. If the Northern Lights have green or pink hues, keep it on daylight (around 5000K). For warmer tones, try cloudy or a custom setting.
Bonus Tips:
- Long Exposure Noise Reduction: If your camera has this feature, enable it to reduce the noise caused by long exposures.
- Test Shots: Take test shots and adjust the settings as needed to get the perfect exposure.
5. Composition and Framing
Composition is key when capturing the Northern Lights. A well-composed photo will make the auroras even more breathtaking.
Incorporate the Landscape:
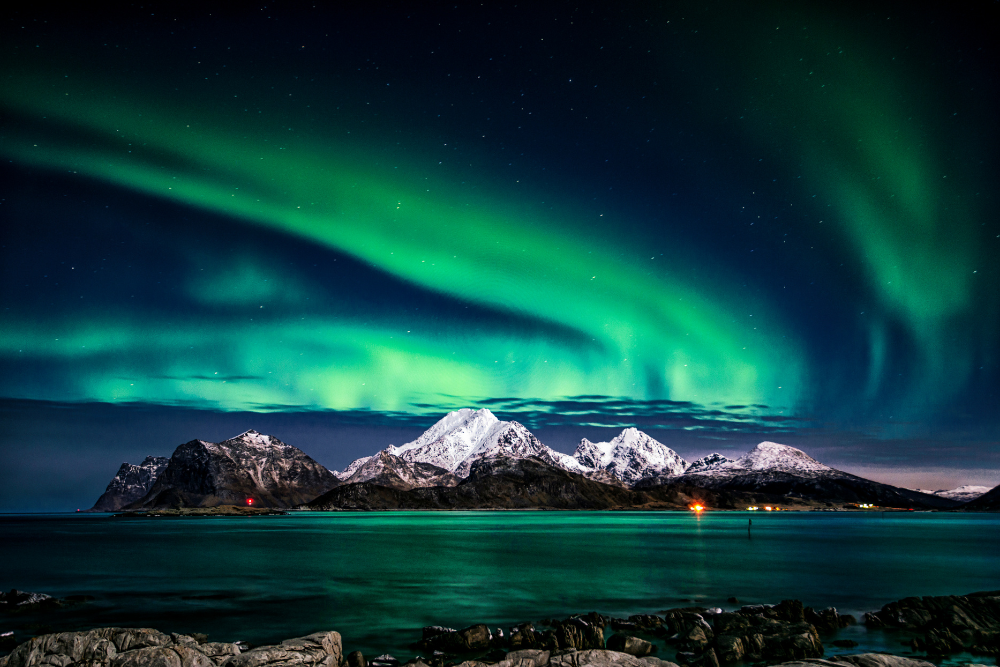
- Mountains, fjords, and forests: Including natural features in the foreground will give the photo context and depth. These elements can help balance the dynamic movement of the Northern Lights with a stable, grounding scene.
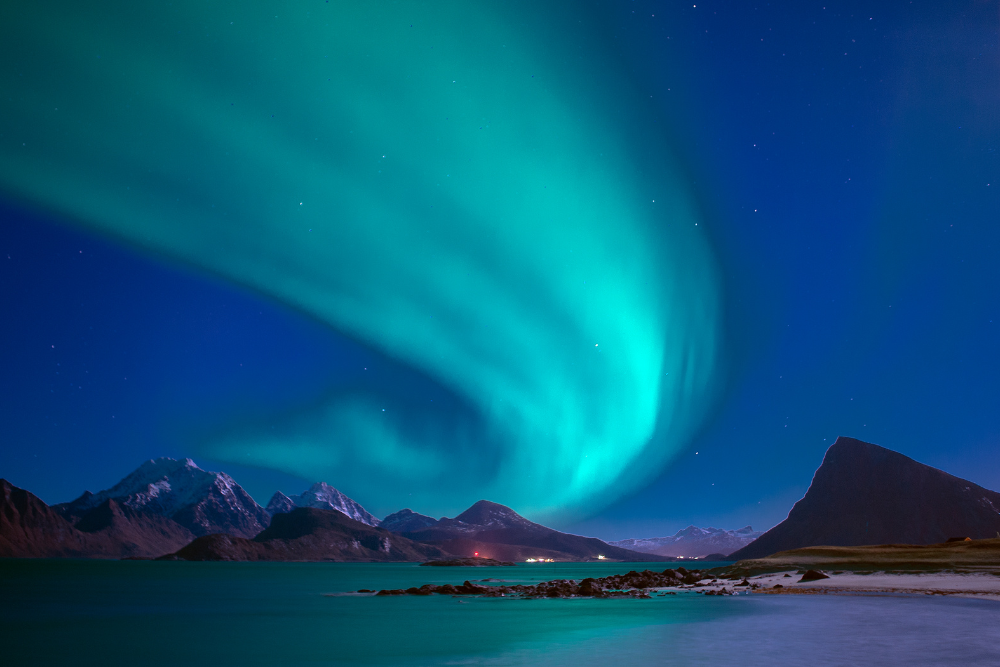
- Reflections: If you’re near water, look for a reflective surface like a lake or fjord. The Aurora’s colors will often reflect beautifully, creating a stunning mirror effect.
Rule of Thirds:
- Apply the rule of thirds by placing the Aurora off-center to create a more visually interesting composition. For example, you can place the horizon in the lower third and allow the Northern Lights to fill the top two-thirds of the frame.
Wide Shots:
- Use the widest lens possible to capture as much of the sky as possible. A wide-angle lens will help you include both the Northern Lights and a dramatic foreground.
Conclusion
Photographing the Aurora Borealis in Norway is an unforgettable experience that requires careful planning, the right equipment, and a bit of patience. By choosing the right location, understanding your camera settings, and composing your shots with the landscape, you’ll be able to capture the Northern Lights in all their glory. Remember to dress warmly, check the weather and Aurora forecasts, and most importantly, enjoy the wonder of this incredible natural phenomenon!