


Cherry blossom season in Japan is one of the most photogenic times of the year. Whether you’re a professional photographer or just capturing memories on your smartphone, the delicate pink petals, historic temples, and scenic landscapes offer endless opportunities for breathtaking shots. However, with large crowds and unpredictable weather, getting the perfect sakura photo can be challenging. This guide will help you master the art of cherry blossom photography, covering the best techniques, locations, and tips for capturing stunning images.
1. Plan Your Trip Around Peak Bloom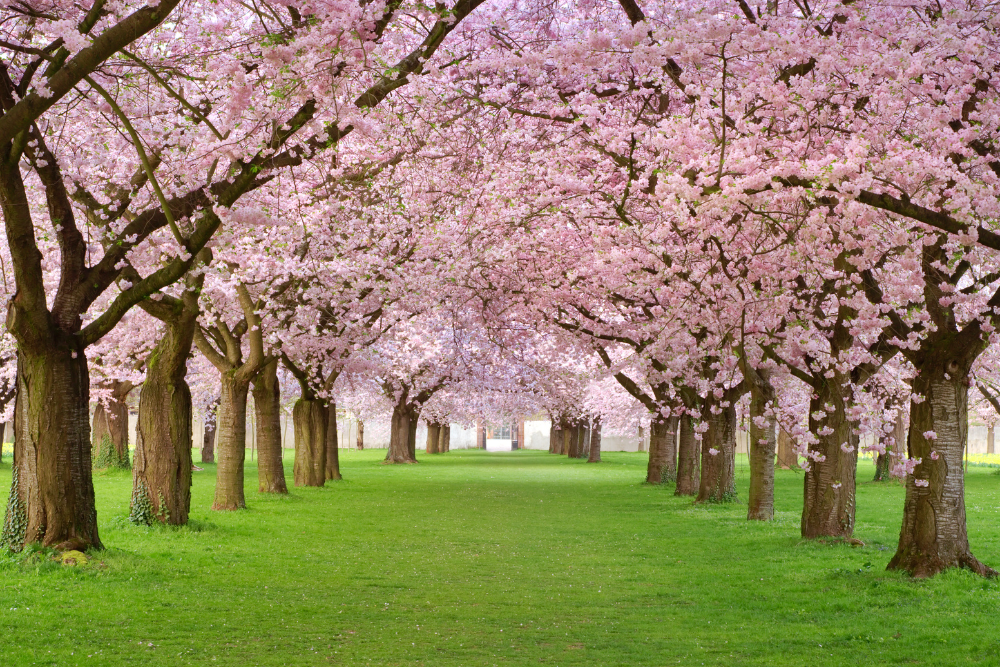
Timing is everything when photographing cherry blossoms. The sakura bloom period is brief, typically lasting about one to two weeks. If you want to capture them at their best, check the cherry blossom forecast before planning your trip.
Key Blooming Periods Across Japan:
- Tokyo & Kyoto: Late March to early April
- Hokkaido: Late April to early May
- Okinawa: Late January to mid-February
Since full bloom can be affected by weather conditions, keep an eye on updates from the Japan Meteorological Agency or local tourism websites.
2. Choose the Best Locations for Photography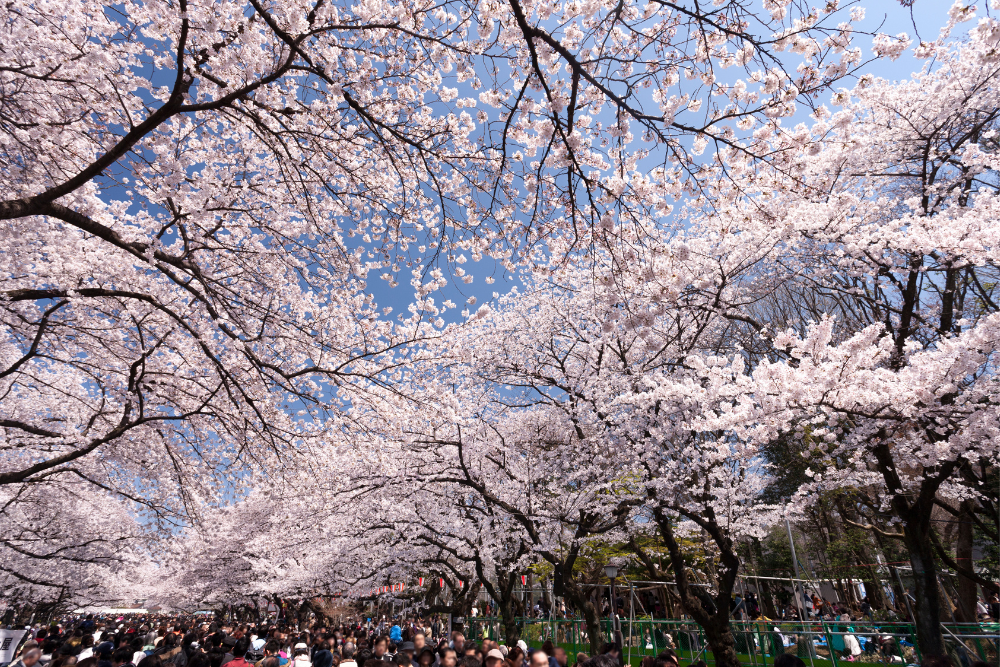
While famous spots like Ueno Park and Maruyama Park are beautiful, they are often overcrowded. For more unique and serene shots, consider these locations:
Scenic Natural Backdrops:
- Mount Yoshino (Nara): A panoramic view of thousands of sakura trees covering the mountainside.
- Lake Kawaguchi (Yamanashi): Capture cherry blossoms with Mount Fuji in the background.
- Hirosaki Castle (Aomori): The castle’s moat creates a stunning reflection of the sakura petals.
Urban and Cultural Settings:
- Philosopher’s Path (Kyoto): A picturesque canal lined with cherry trees.
- Chidorigafuchi (Tokyo): Rowboats on the moat with cherry blossoms arching overhead.
- Kakunodate Samurai District (Akita): Weeping cherry trees against traditional Edo-period homes.
These locations offer unique perspectives beyond the usual crowded parks.
3. Master the Right Photography Techniques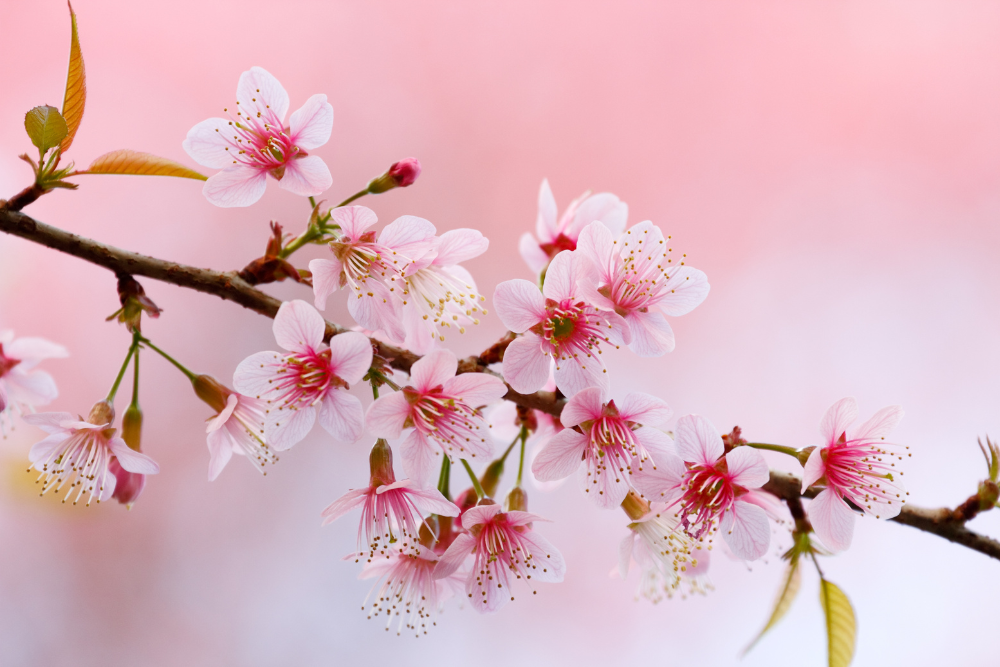
A. Camera Settings for Sakura Photography
- Aperture: Use a wide aperture (f/2.8 – f/5.6) for soft, dreamy bokeh effects.
- Shutter Speed: To freeze falling petals, use a fast shutter speed (1/500s or faster).
- ISO: Keep ISO low (100-400) to avoid noise, adjusting it higher in low-light conditions.
- White Balance: Adjust to daylight mode for natural pink tones, or experiment with warmer tones for sunset shots.
B. Composition Tips
- Rule of Thirds: Place the cherry blossoms off-center for a balanced shot.
- Leading Lines: Use pathways, rivers, or fences to guide the viewer’s eye through the image.
- Framing: Capture blossoms through a temple gate, bridge, or torii for added depth.
- Reflections: Water surfaces (moats, lakes, rivers) create mirror-like compositions.
4. Capture Different Perspectives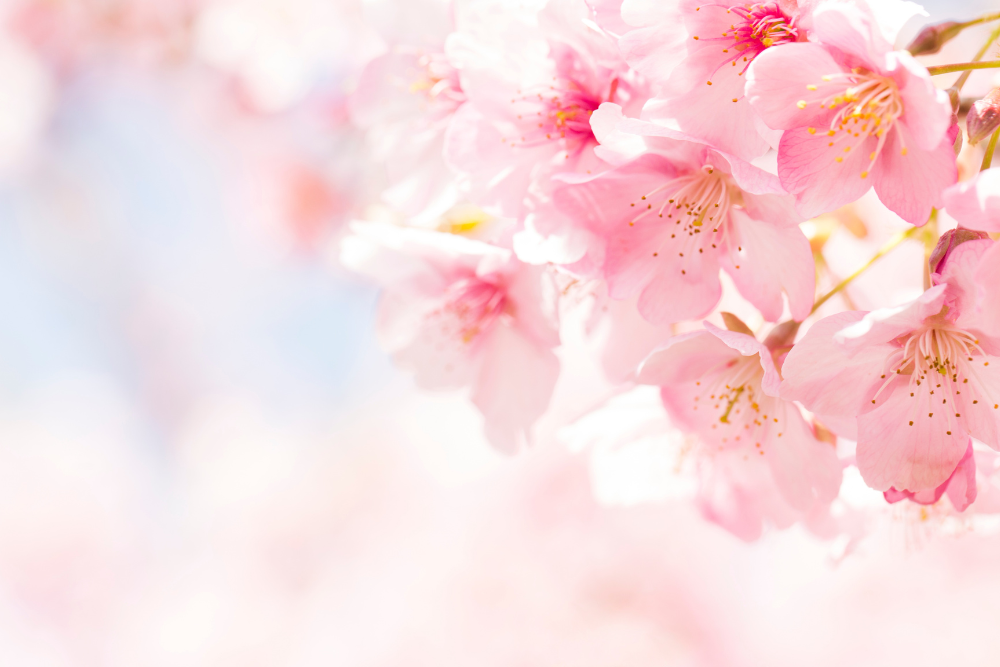
A. Close-Ups & Macro Shots
Use a macro lens (50mm or 100mm) to capture delicate details like the petals, stamens, or raindrops on the blossoms. A shallow depth of field (f/2.8) will create a soft, blurred background.
B. Wide-Angle Shots
A 24mm or 35mm lens works well for capturing entire rows of sakura trees or scenic landscapes with temples and mountains in the frame.
C. Low-Angle & Upward Shots
Shooting from below gives a dramatic perspective, especially when photographing cherry blossoms against a blue sky or a historic structure.
D. Silhouettes & Sunset Shots
For a dramatic effect, photograph cherry blossoms during sunrise or sunset. Use a lower exposure setting to create silhouettes of the trees against a colorful sky.
5. Take Advantage of Natural Light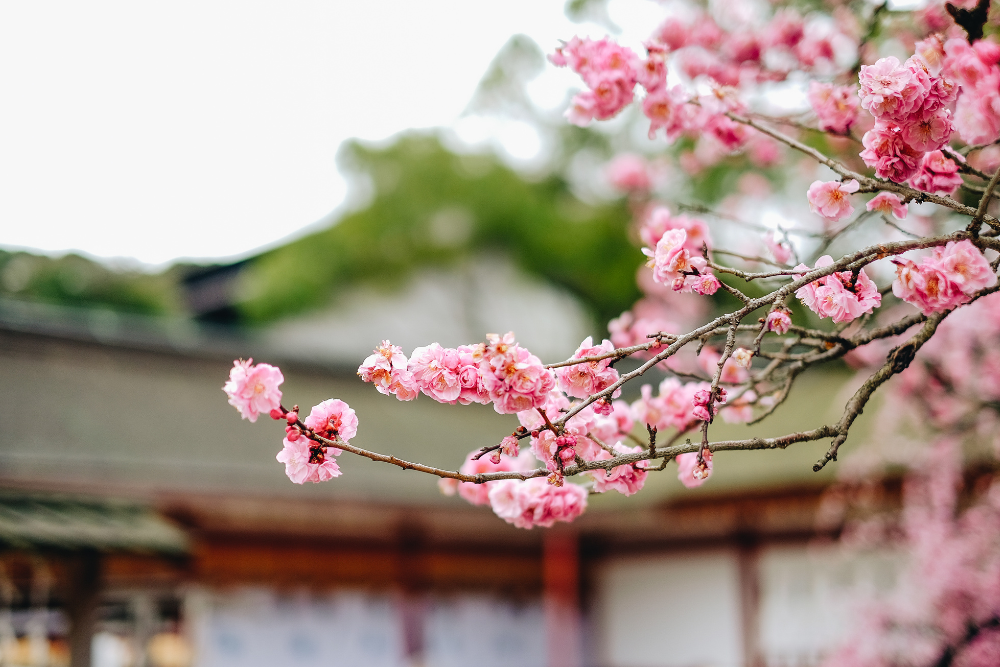
Golden Hour (Best Time to Shoot)
- Early morning (6:00–8:00 AM): Soft lighting, fewer crowds.
- Late afternoon (4:30–6:30 PM): Warmer hues, long shadows enhance depth.
Blue Hour & Night Illuminations
Many cherry blossom festivals feature yozakura (nighttime sakura viewing), where trees are illuminated with lanterns or spotlights. Bring a tripod and use a long exposure (2-5 seconds) with low ISO (100-200) for sharp, well-lit night shots.
6. Overcome Common Challenges
A. Crowds
- Visit early in the morning to avoid heavy foot traffic.
- Use a telephoto lens (70-200mm) to focus on specific details and blur out background distractions.
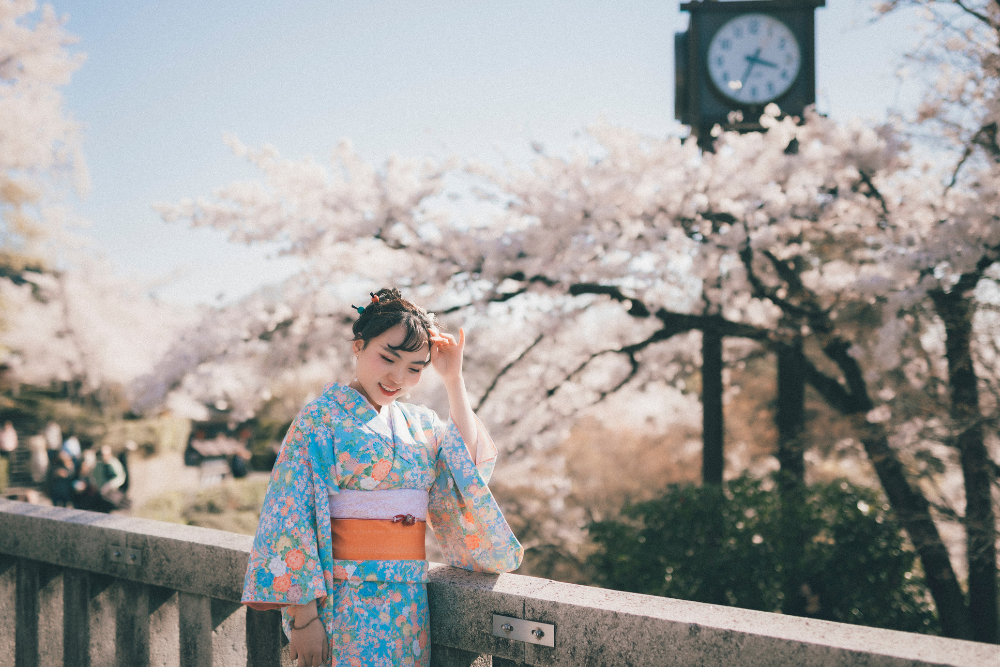
- Frame your shot creatively by using foreground elements (trees, fences, or people in kimono) to add depth.
B. Wind & Petal Movement
- Use a faster shutter speed (1/500s or higher) to freeze petals in motion.
- Capture petals floating on water for a poetic scene.
C. Rainy Days
- Take advantage of water reflections for unique shots.
- Use an umbrella or rain cover to protect your camera.
- Focus on macro shots of rain-kissed petals for a fresh perspective.
7. Editing Your Sakura Photos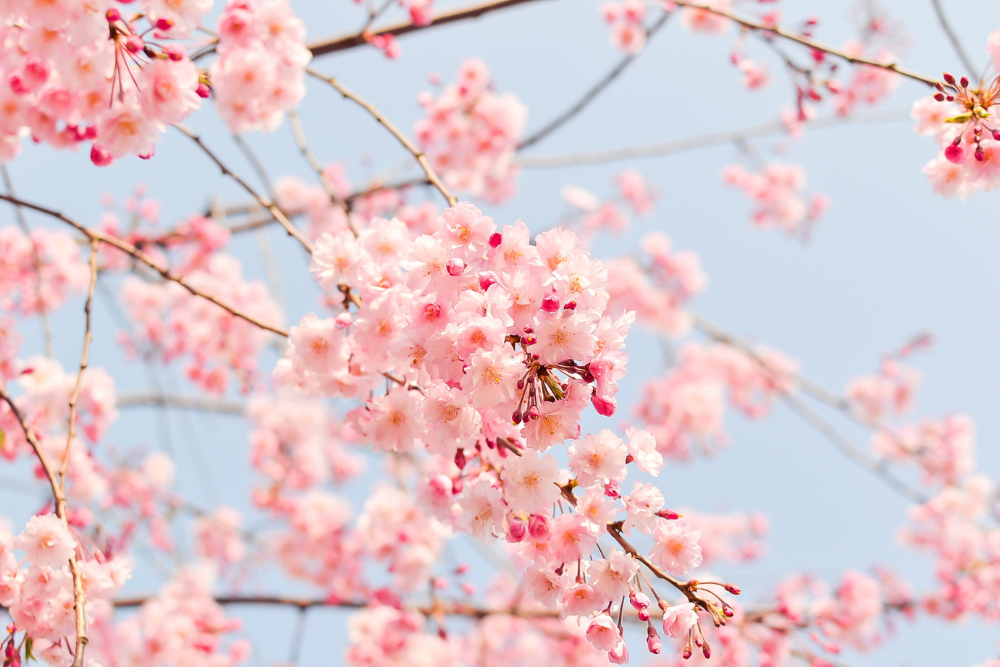
A. Enhancing Colors
- Adjust saturation and vibrance to make pink hues pop.
- Increase contrast slightly to bring out petal textures.
B. Adjusting Exposure & Highlights
- If the sky is too bright, lower the highlights and increase the shadows for balanced lighting.
C. Cropping & Framing
- Straighten horizons and crop out distractions for a cleaner composition.
Editing tools like Adobe Lightroom, Snapseed, or VSCO can help fine-tune your images.
8. Capture the Hanami Experience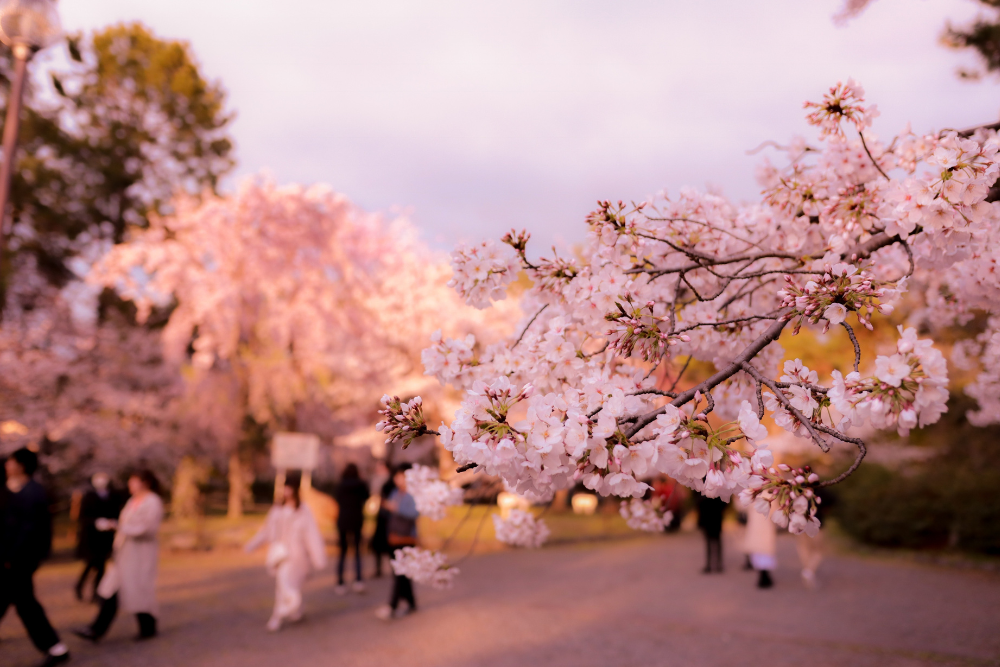
While photographing cherry blossoms is the main goal, don’t forget to document the full hanami experience. Capture:
- Locals enjoying picnics under the trees
- Traditional food stalls selling sakura-themed treats
- People in kimono or yukata walking through the parks
- Fallen petals covering the ground or floating in the river
These elements add cultural depth to your cherry blossom photography.
Conclusion
Capturing stunning cherry blossom photos in Japan requires planning, patience, and creativity. By choosing the right locations, using effective photography techniques, and experimenting with different perspectives, you can create breathtaking images that truly showcase the beauty of sakura season. Whether you’re using a professional DSLR or a smartphone, following these tips will help you capture memorable hanami moments to cherish for years to come.